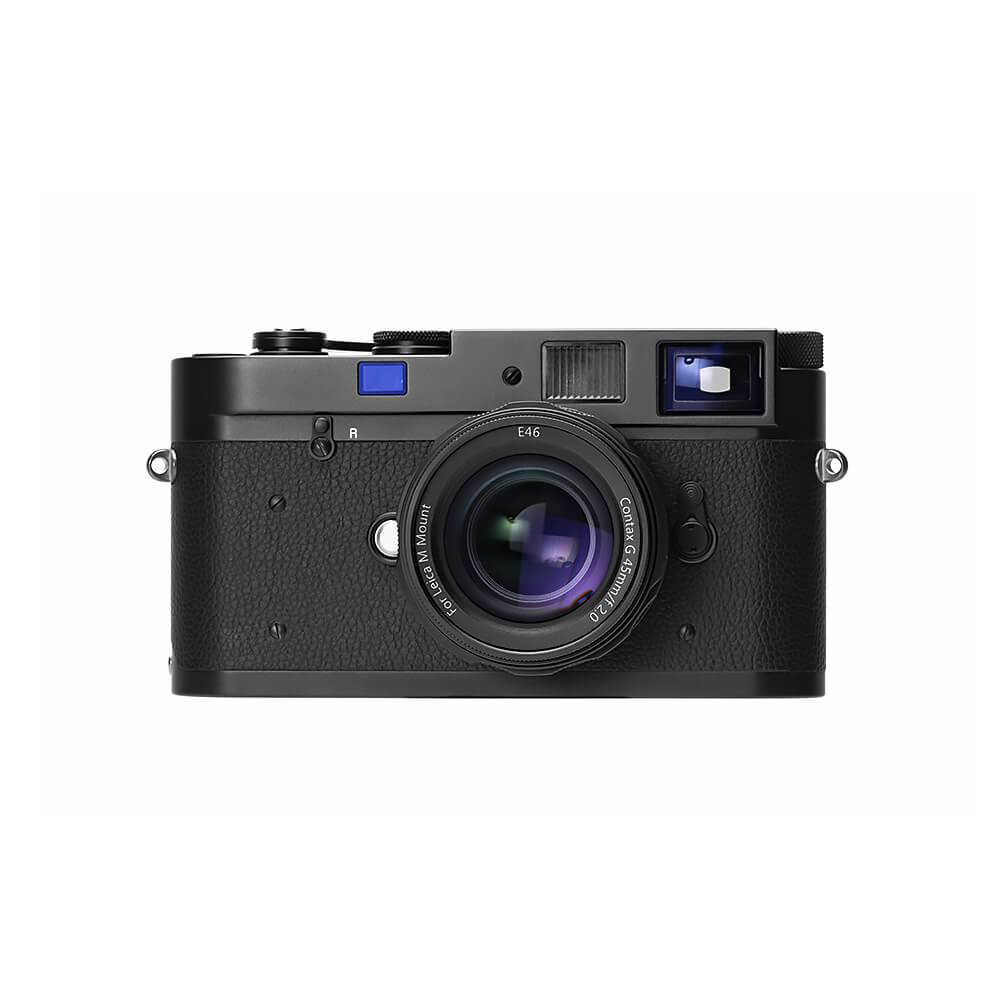
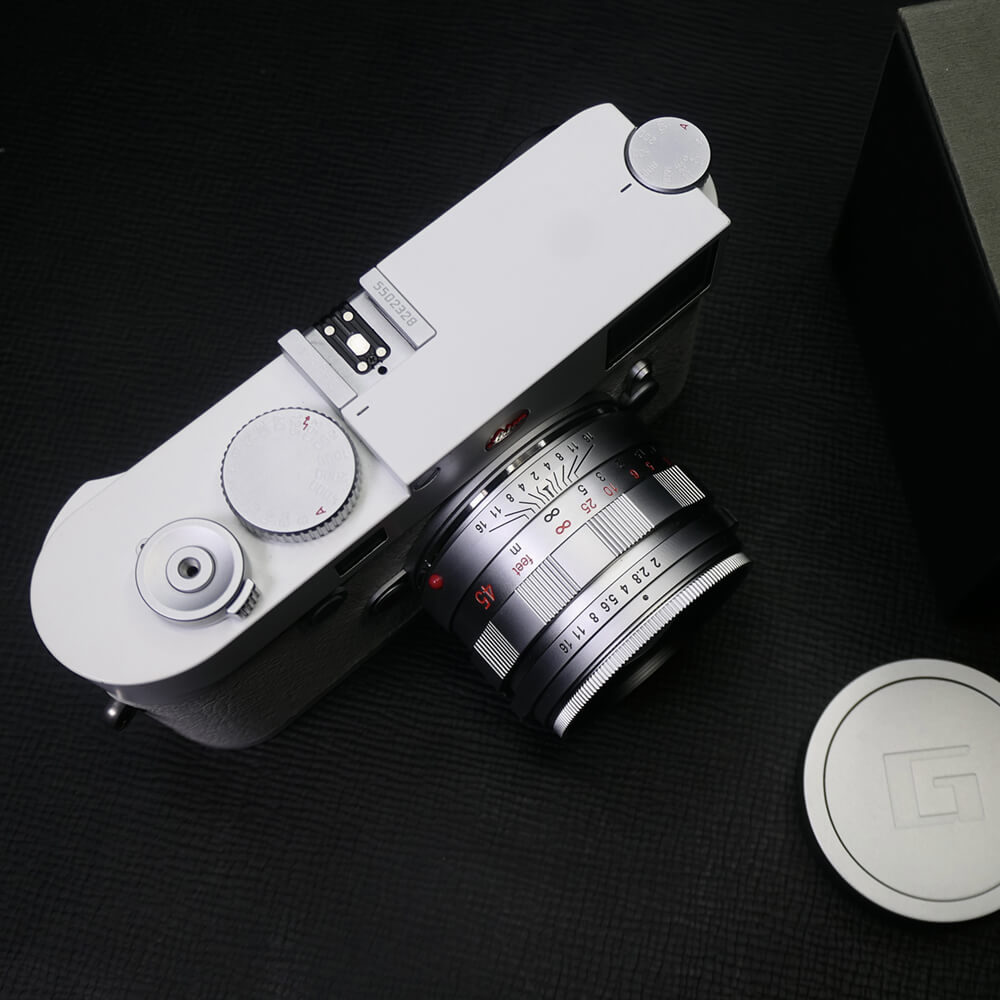
Funleader Contax G45 M Mount Conversion is now open to preoders! We will start shipping orders in early July. Once shipping begins, prices will return to their original rates.

In August 2019, we released the first G35 M-mount non-destructive conversion. Due to the limited number of original Contax optical lens groups that we collected, we only produced 170 sets of converted lens and finally got 170 happy customers. Those enthusiastic customers gives us confidence and motivation to continue making G45 lens conversion.
The optical part of this lens is still the original Contax optical lens groups that we collected on the market. It is not an optical reproduction and fully displays high resolution and beautiful colors that Contax 45mm F2 Carl Zeiss Planar T* lens should have. It is worth mentioning that we only have 300 lenses and those lenses will be delivered in batches. First come, first served.
For the G45 helicoid, we fully absorbed users' opinions on G35mm helicoid and presented it with a retro appearance. If you already have a G45mm lens and want to use it on Leica M, then the helicoid might be a good choice for you. It is still non-destructive conversion.

FEATURES
-
Non-Destructive Conversion: When we convert the original Contax G45 lens for Leica M mount, we will not damage the lenses. It feels as good as the original Contax lens after conversion.
-
Contax’s Original Optical Lens Group: With the original Contax G45 optical lens group, this converted lens fully demonstrates ultra-high resolution ratio and beautiful colors that T* planar 45mm/f2 should have.
-
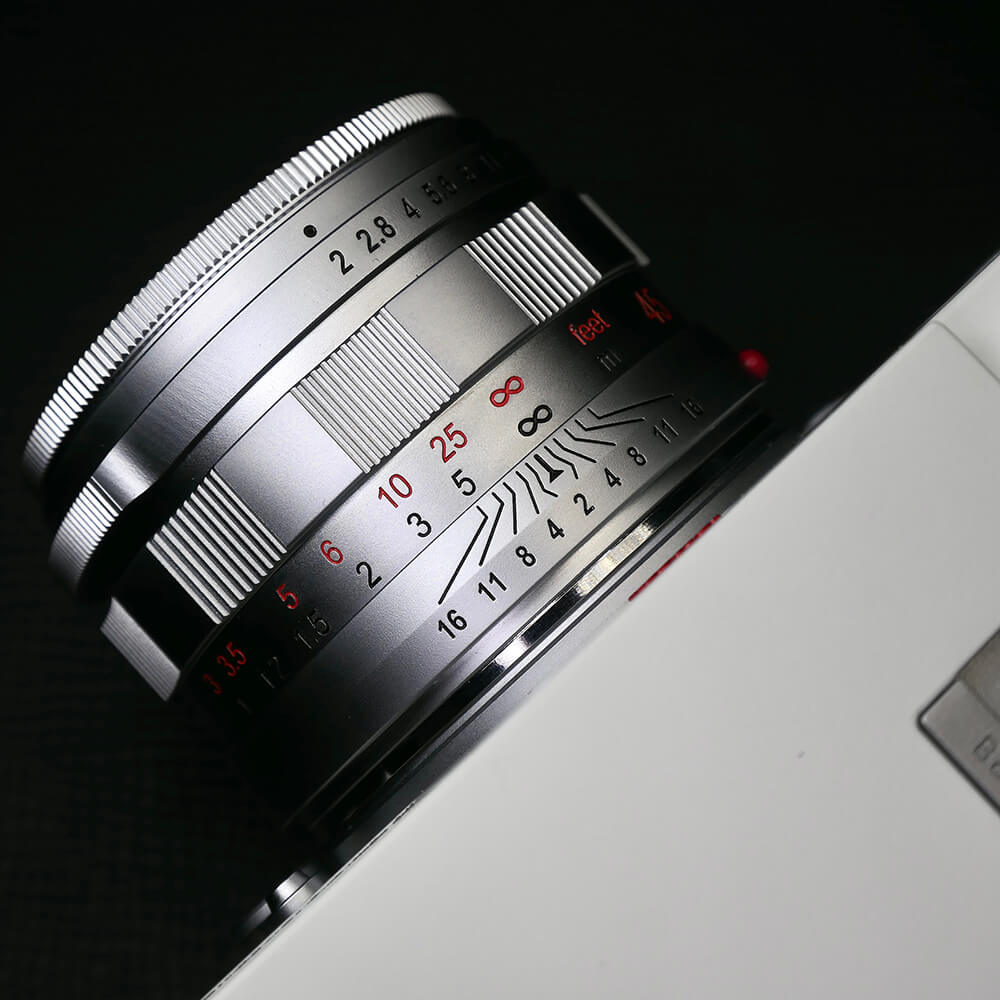
Exquisite Retro Design: the focus ring with wave pattern design, the aperture ring with double ear design, and the small and exquisite red and white numerical scale show the ingenious balance between retro and modern.
-
Easy to DIY: If you have a Contax G45 lens, it is easy to assemble the original Contax optical lens group into our converted helicoid. You can recover Contax G45 if you do not want to play.

DIY(HELICOID)---CONTAX G45 TO M MOUNT CONVERSION
If you hava a Contax G45 lens and want to use it on Leica cameras, all you need is a converted helicoid. You can use our helicoid to replace the original Contax G45 helicoid by yourself.
Step One: Disassemble Contax G45
-
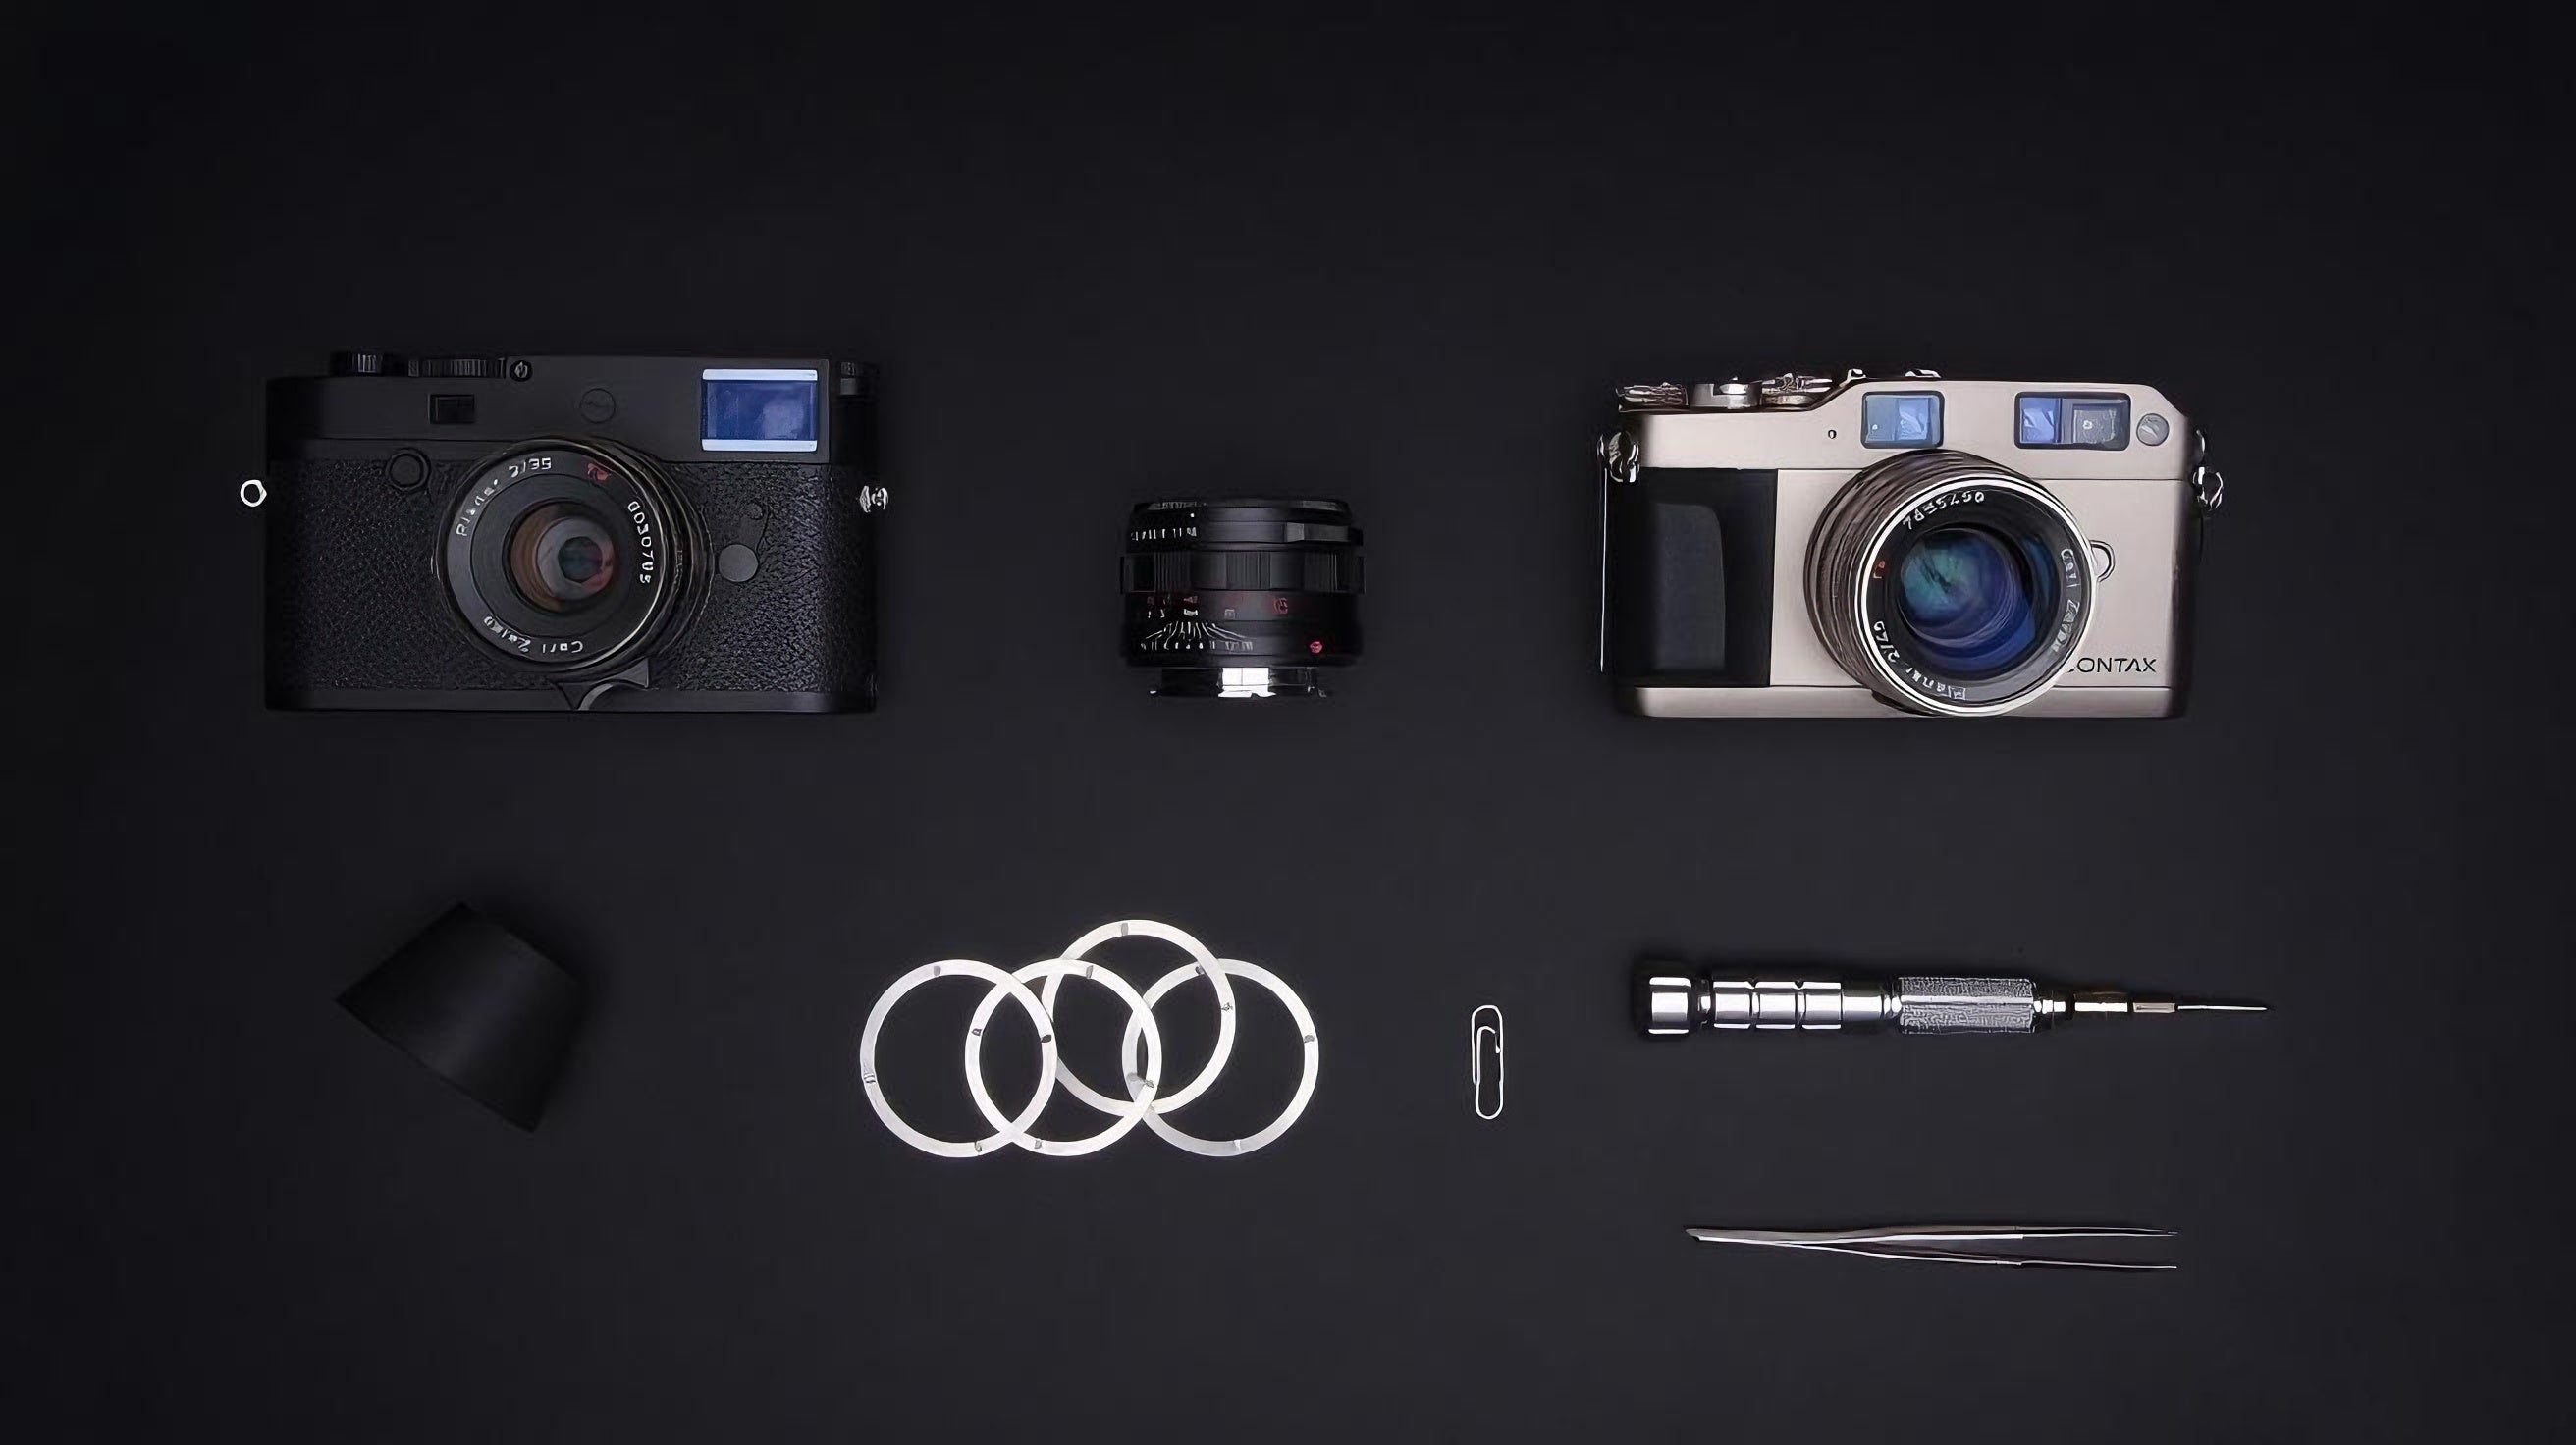
Preparations before disassembly
(1) Tools list: a screwdriver (Φ1.0-2.6), a tweezer, paperclips, rubber;
(2) Working environment: try to operate under sufficient light and dust-free environment;
(3) Note: In order to protect the lens, it is recommended to use finger cots or gloves throughout the operation.
-
Remove the lens ring from the original Contax G45 lens
(1) Turn the aperture from 5.6 to the position as shown in the picture below;
(2) Press the rubber against the lens, rotate the rubber counterclockwise and remove the front ring;
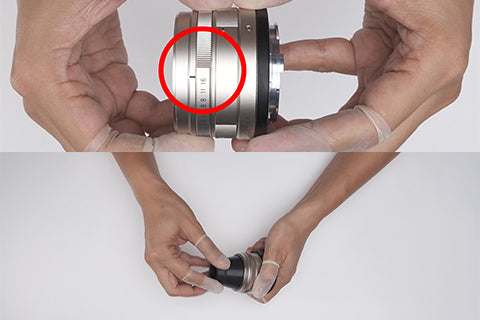
(3) Use the screwdriver to remove the 4 screws (do not scratch the lens) and take out the second ring.
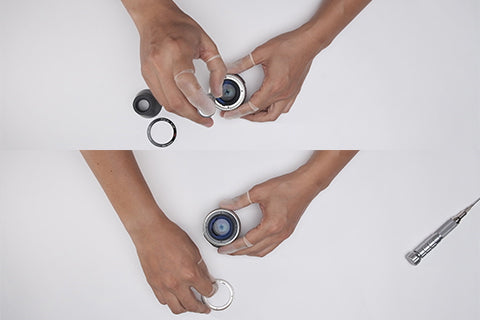
-
Take out the optical lens group and its gaskets
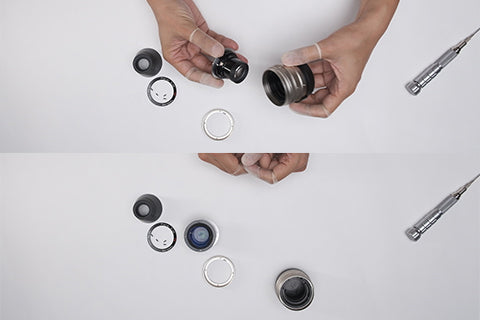
(1) Tilt the lens downward and take out the optical lens group and its gaskets;
(2) Note: After taking out the lens group, please put the lens group upside down on the table to prevent the rear lens (convex side) from being scratched.
Step Two: Replace the Helicoid
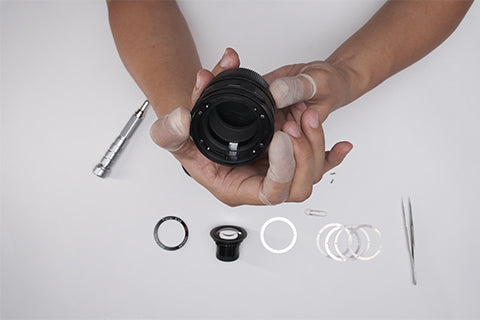
❶ Optical lens group; ❷ Helicoid; ❸ Gaskets; ❹ Lens rings; ❺ Tools
-
Adjust the aperture and place gaskets
(1) Remove the four screws of the helicoid and take out the ring;
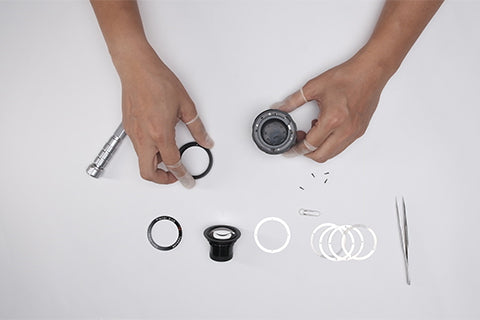
(2) Adjust the aperture to 5.6 to make the gaps of the two parts in the helicoid coincide;
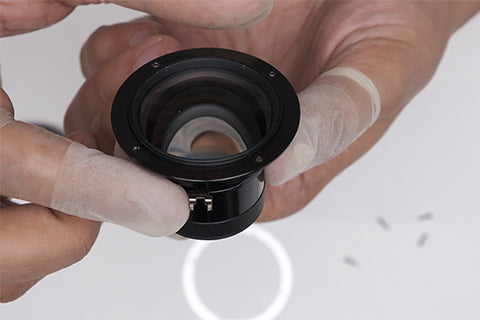
(3) Locate the 2 screw ports adjacent to the aperture lever of the optical lens group, and adjust the lever to the middle of them;
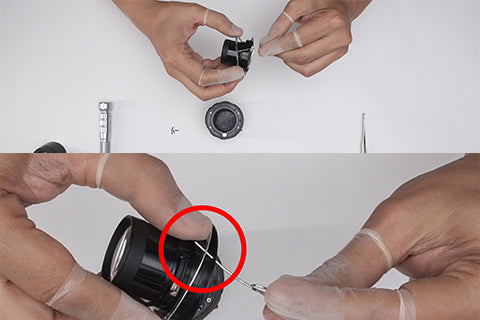
(4) Place gaskets and use a paperclip to align the hole of gaskets with the screw hole of the optical lens group (for the number of gaskets, please refer to the description of M-mount cameras infinite focus proofreading at the end).
-
Put the optical lens group into M-mount helicoid
(1) With the help of a paperclip, align the screw holes of the lens group, gaskets and the helicoid;
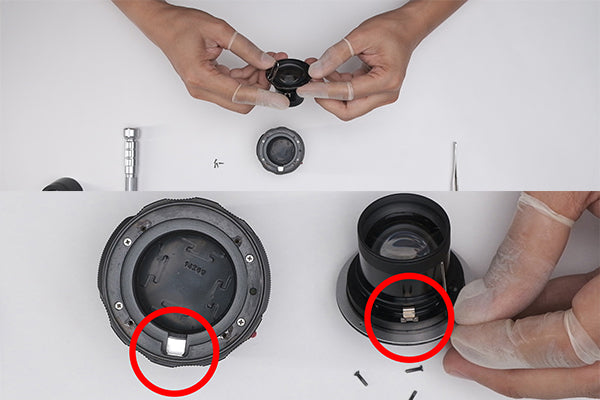
(2) Align the aperture lever of the lens group with the groove of the helicoid, and place it vertically.
-
Check and complete the replacement
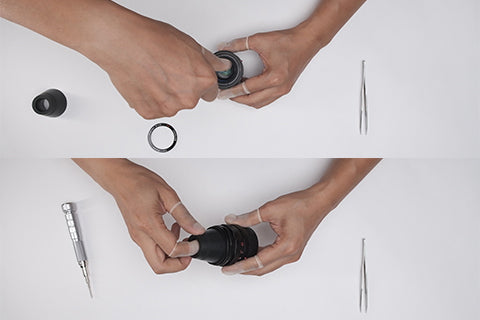
(1) After placing it horizontally, make sure the 4 screw holes of the lens group, the ring and the helicoid are aligned, rotate the aperture ring and the aperture will change accordingly, indicating that the installation is in place. Please do not pull out the paperclip during checking;
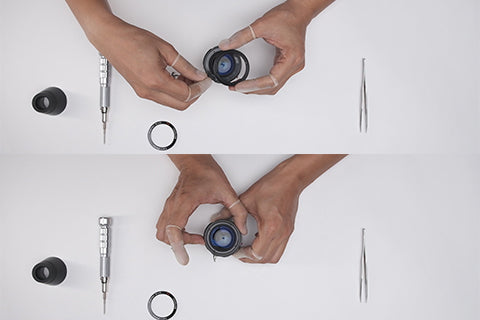
(2) Install the 4 screws and the front ring and complete the replacement.
-
M-mount cameras infinite focus proofreading
(1) Take the vertical reference object from 30 meters away and if the image is clear at ∞, please do not add the gasket;
(2) If the image is not clear at ∞, please reduce the gasket;
(3) If the image is clear at 5-∞, please add the gasket.


